Saturday, January 19, 2013

Sweet Caroline

Sweet Caroline
 
On Saturday, January 12, we welcomed
a new generation in the Jetton family, with the arrival of
Caroline Loving Jetton!


Caroline's gender was a surprise, even to her parents.  Chip took two shirts to the hospital, one pink and one blue.  When he emerged from the delivery room to announce her arrival, he was sporting the pink shirt.


Lollie's sister Charlotte and Aunt Sally share their first moment together after Caroline's birth.


 Caroline's arrival marked a series of firsts:

The first in a new generation of the Jetton family.
The first child for proud parents Chip and Lollie.
The first niece for Charlotte, Lauren and Chris
And my first grandchild!!
From now on, just call me Renny.

I am Caroline's only living grandparent so I will spoil x 4!!  What fun this is going to be!


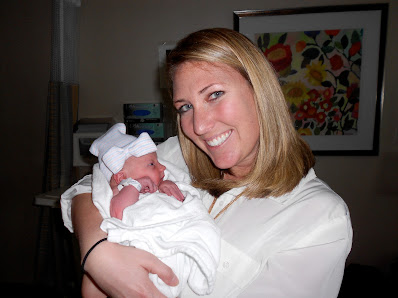
Weighing in at a petite 6 pounds and 13 ounces, she immediately stole our hearts.
Wonder if she will have blonde hair?


Or darker hair like Charlotte's? 


Uncle Chris and Aunt Lauren, Renny, Aunt Sally (Renny's sister),
Chip, Lollie and Caroline
 
 
Lollie's family - Uncle Bubba, Aunt Sally, Uncle John and Aunt Charlotte.
 
Yes, she has 2 aunts named Sally!


Check out the bow on the hospital cap.


Chris and Lauren quickly drove from
Durham and we all waited until they arrived to meet Caroline for the first time.
Photo

With Chris' sister, Ashley.
`I think they are discussing plans for a shopping trip.

Photo
Chris' mom, Rita, drove from
Greensboro to welcome Caroline and brought her first teddy bear - pink, of course.


 Chip's beautiful girls, preparing to go  home on Sunday.


Back at school, this was exam week.  On Thursday, after the last exam was completed, my colleagues surprised me with a "Renny" shower!  Debbie and art teacher Tony organized the event, sent out evites and managed to get one end of our building pinked out without me knowing about it.  I was surprised and touched. 
 
 
Debbie and some of her students covered candy bars with pink and white polka dot gift wrap (could there possibly be any other choice?)  and added the little  announcement card.  Shower guests enjoyed taking these as they returned to their classrooms to finish end of the semester duties.  We are making more for Chip and Lollie to give to friends and relatives when they visit Caroline at home.
 
Caroline's first black and white polka dot outfit.  No wardrobe is complete without those dots!

This has been a week of immeasurable happiness as family and friends have celebrated
 with us.  We are so blessed.
As I reflected upon the events of the week, I was reminded of this quote by
R.A Salvatore:
"Joy multiplies when it is shared among friends...."
 
This week I have felt joy beyond measure. 

Renny

Monday, January 7, 2013

Banner Days

Banner Days!


Debbie and I have created banners together for several years.  We make them to celebrate births, birthdays and weddings.  Also, we have designed banners for use in our classrooms and for school related functions.

This post will highlight banners we have made to celebrate special people and occasions in our lives.


My most recent banner is a gift for my daughter Lauren's college friend/sorority sister, Hannah and her husband Brandon.  Debbie and I made a similar banner for her cousin's baby and I recreated the pattern to make this one.


The internet and coloring books are great sources for simple illlustrations that can be resized as needed on a copy machine.


An assortment of fabrics to be used.


Putting together the individual design elements.  Fusible web is our best friend at this point!
Wonder Under is my favorite, as it doesn't clog the machine needle.


A Cricut makes lettering so easy!  Cut paper letters with the Cricut  and then use those letters as the pattern for cutting the fabric. 


 A simple monogram banner I made for a baby girl.
Tassels are so much fun to make and add the perfect finishing touch.  Here we took a large bead, painted it white and then added colorful dots.  An assortment of ribbons was then pulled through the opening in the bead.


We made two banners to flank the cake at a wedding reception.  As luck would have it, the bride's first name began with the same letter as the groom's last name!   They now have their "last name" banner, which they use on their front door and  indoors.


Sorry the background in this photo is such a mess.  It was taken during the final days of the last school year.  I was in the process of packing up the room for the summer.
This is a banner we made for our outgoing department chair.  She has a beach house so Debbie and I designed this banner for her summer home.  We added dimensional items, including the sunglasses and the wiggly eyes on the crab.  Notice the shovel, shells and rope used to make the tassel.

Is there a banner in your future?  You can make any day a Banner Day!

Coming soon - banners made for and by teachers for their classrooms.


Sunday, December 30, 2012

It's A Wrap!
 
 
It's all about presentation.  With just a little effort, you can make any gift look fun and festive.  Here are a few of my favorite ideas and techniques for a gift of food:
 

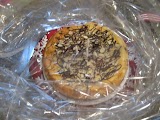
 Each Christmas, I bake 4 or 5 Amoretto Chocolate Chip Cheesecakes for gifts.  I place each cake on a holiday plate or platter, which is also part of the gift.  Then the fun begins!
The platter with cheesecake is positioned in a large cellophane gift bag.  To keep the bag from settling onto the top of the cheesecake, I place two or three "birthday" candles in the center of the cake.  You can barely see them in the photo above - they are white.
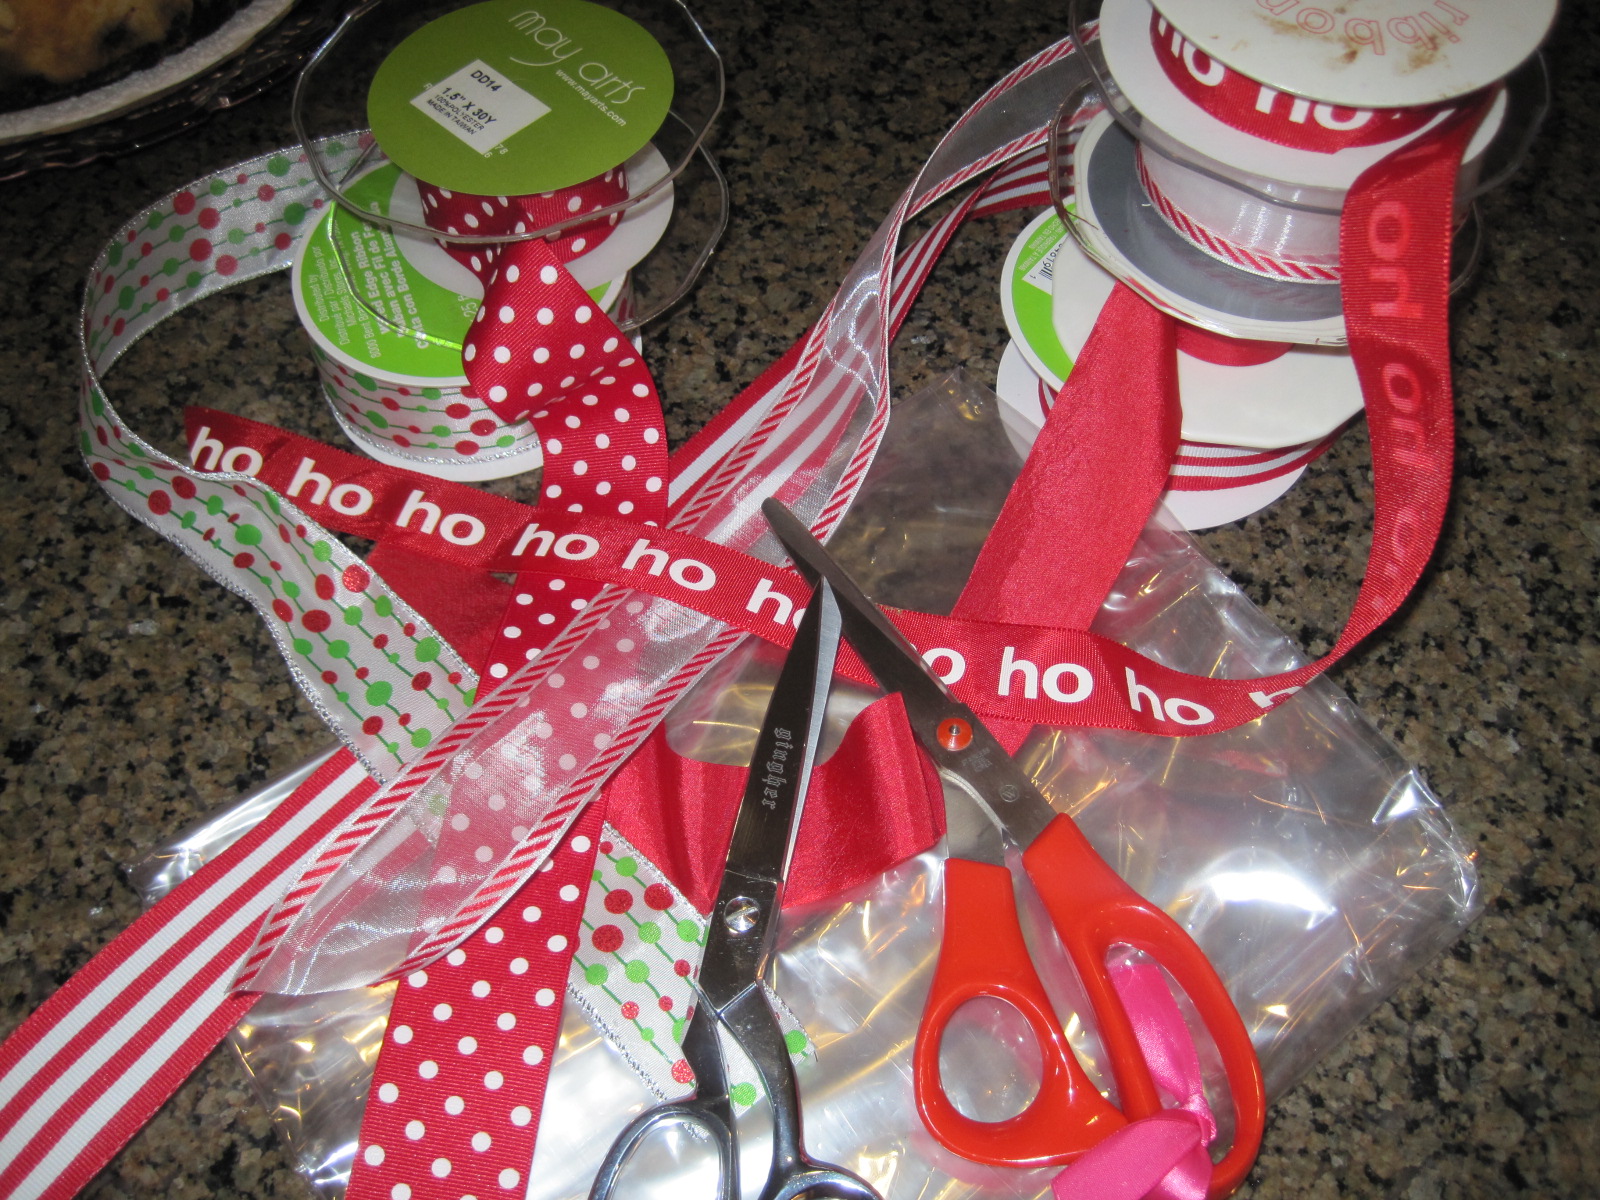
An assortment of ribbons to be used for the bow. The red handled scissors are for cutting the ribbons that are wired.

The base of the bow will be 6 or 8 loops of a selected ribbon.

On top of the base loops, add 6"- 8" lengths of a variety of coordinating ribbons.  The top ribbon will be the "ho ho ho."
Stacked ribbons, ready to be tied together.
Finished bow.


 The finished gift.

Another fun (and much appreciated gift for those who entertain during the holidays) is the Frosty the Snowman Cheeseball.  I just double my favorite cheeseball recipe, make one large ball and one slightly smaller.  Freeze until firm, stack the balls,  then frost with whipped cream cheese and decorate.

 Here he is, ready for gifting!  Looks almost like a snowglobe, doesn't it?
For very little effort, you can make a grand presentation.

I hope you enjoy using these ideas.

Ren

Saturday, December 29, 2012

December at School


Debbie and I were known as Santa's Elves around campus during December.  Debbie purchased these aprons for us at Pier I Imports.  We often paired the aprons with our Christmas fascinators, which we made in December 2011, to complete our holiday ensembles!
Apparel I students brought in old jeans for a recycle/redesign project.  They made stockings of their own design.  Of course, their favorite part is the embroidered name.  We have new embroidery machines in the apparel lab this year and they are in use almost continuously.  After all, this is the South and we do love to see our monogram or name on everything!


Detail of another student's work.  She cut the gingerbread men and candy canes out of a Christmas fabric and appliqued them to the stocking.  I love to see the creativity and resourcefulness of our students.
Debbie's Interiors II students are also busy with a recycle/redesign project.  They are reworking donated and discarded chairs for a fashion show that Apparel and Interiors students will collaborate to stage in the spring.  Each chair is designed with a specific theme - 1970s, Shrek, music, etc.  Apparel II students will select a chair for inspiration and will construct a garment to accompany the chair.
 
A holiday dress created from giftwrap.
 
A winter themed display being created for the case outside the Media Center.  The lattice was rescued from a trash pile and sprayed white.  Painted sticks, a strand of lights and various snowflakes were added.
 
 
Necklace made from plastic dry cleaning bags,  ornaments and other trinkets.  Debbie's dog Lucy was the inspiration for the little dachshund in the snow.  The background is giftwrap.


Detail of the opposite end of the display.  The light reflected off the glass and we just couldn't get a good shot of the entire window.  Debbie with two of her creative students.
 
Waiting for Santa - and the winter break!
 
Happy New Year!!
Debbie and Ren

Christmas 2012


 Food is always an important part of the Christmas season.  Lauren and I enjoyed making a Yule Log for Christmas Eve dinner.  Here are a few of the steps:
We began by baking a chocolate sponge cake in a jelly roll pan.
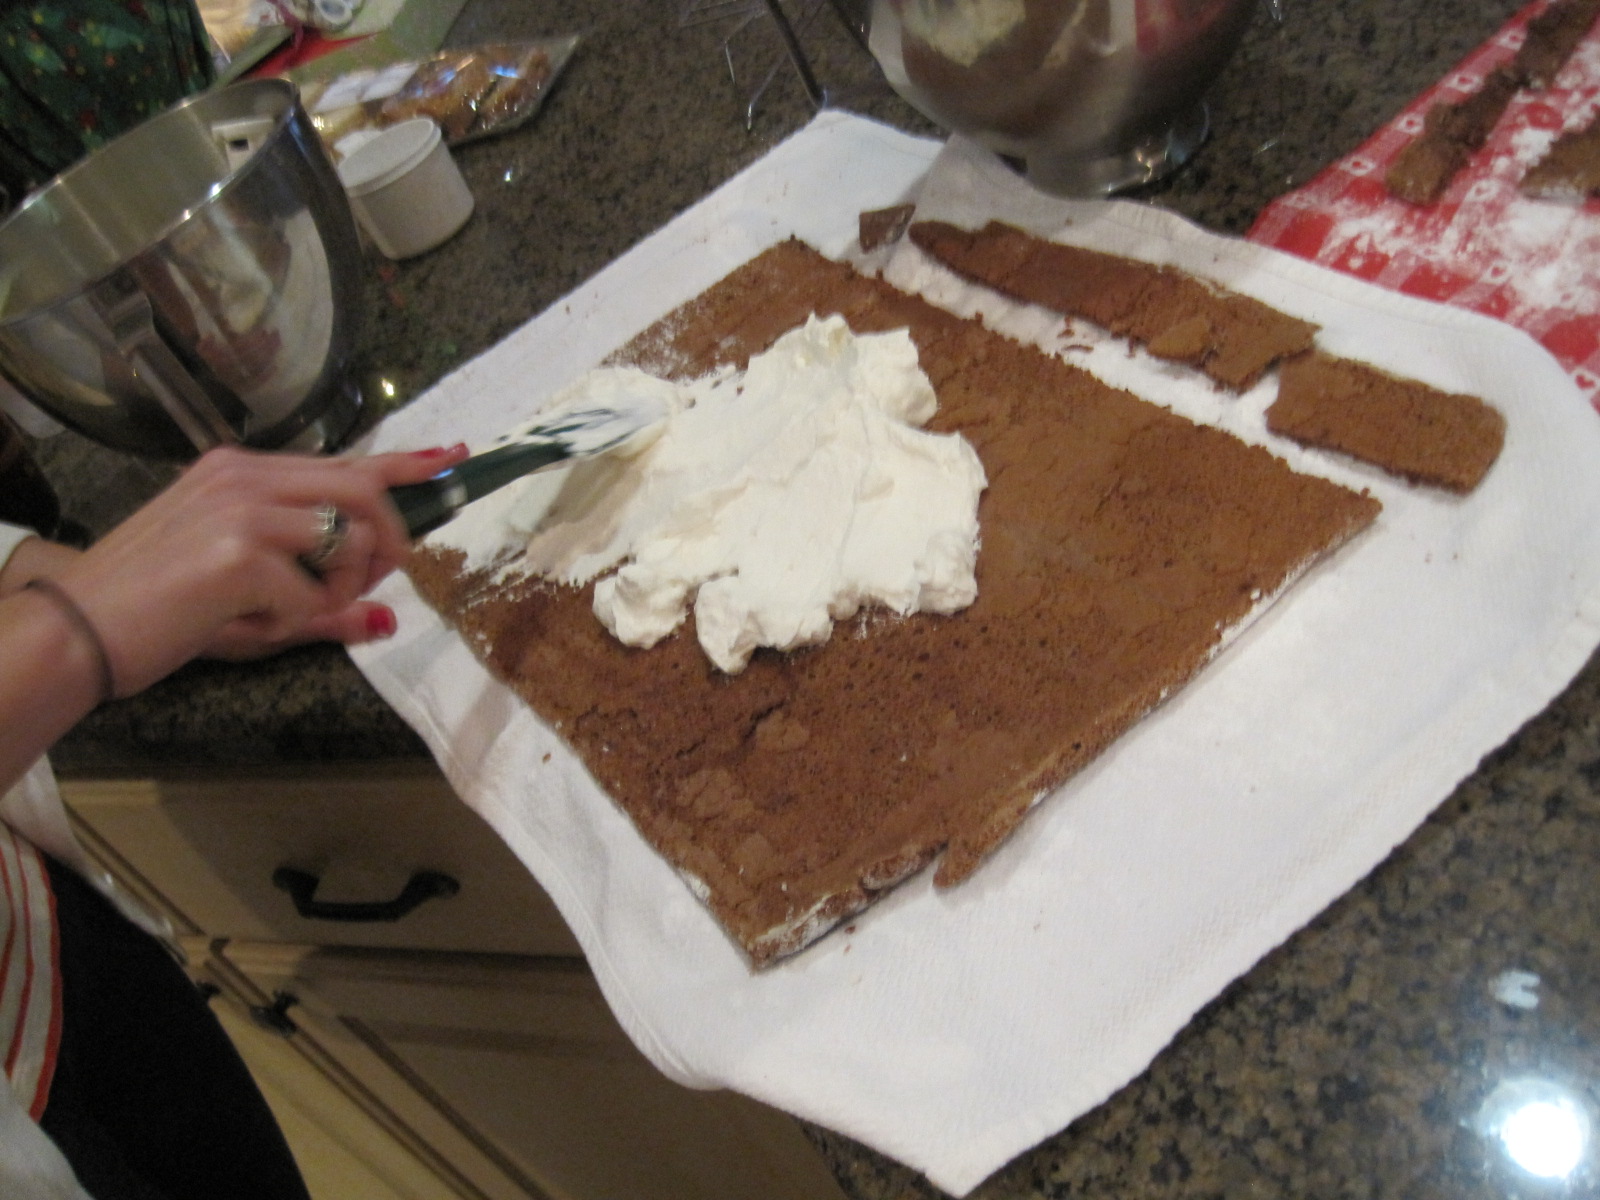
After the cake cooled, we spread a homemade whipped cream over the cake
Next we carefully rolled the cake
Homemade chocolate buttercream frosting was then applied to the log (notice the smaller logs on the side.  We cut the ends of the cake and positioned them on the log).

Drag the tines of a fork through the frosting to create the bark effect and sprinkle with powdered sugar to add "snow."
 

The cross stitch ornaments are the first ornaments I made for Chip and Lauren.  The pasta ornament is a favorite of mine, Chip made it in preschool.
Santa left Reinbeer for the boys! Got the idea from Pinterest
 
My collection of glitter trees in the dining room
 
Hope you had a very Merry Christmas!


Belated Birthday

December is a month of celebration for our family.  This year has been extra special as we await the arrival of the first Baby Jetton. We started the month with a shower to honor Lollie and the baby.
Lauren and I celebrate our Birthdays together each year.  Lauren's Birthday is December 3rd and mine is December 4th.  This year Lauren was in town for work so we had lots of time together.
 
Lauren gave me this beautiful handpainted pillow (by Beth Wiseman, Lincolnton, NC).
We missed Chris at Lauren's Birthday dinner